you can create the effect using the mental ray lens shader
mia_lens_bokeh. Though chromatic aberration is pretty much never
used (right?) I have seen this technique pop up on different blogs
and forums ever since. So I would like to straighten a few things out.
The bokeh map.
The bokeh map used in this first post of mine is not production quality.
Its crudely made and could produce artifacts. It is also
pretty crappy compressed. So for the love of bog or god stop
spreading it around :) !
But i won't let you hanging without a sassy bokeh map
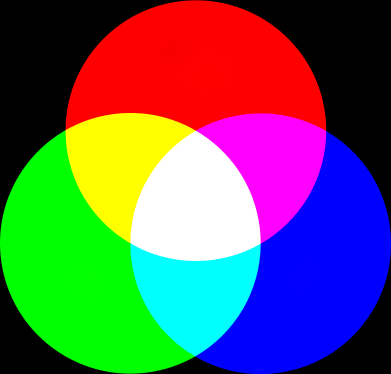
feast your eyes on this one (click to enlarge):

You can see the difference between the maps in the image below.
The alternative
Moving on. The technique suggested in the old post is actually to
slow and to inflexible to be used in any major project so let me present
a better and more production focused technique.
The idea is to move the effect to post. Adding the chromatic aberration
in photoshop or after effects gives you the ability to tune the look and
amount in an intuitive way. It also renders extremely much faster
and since we'll scrap the bokeh shader we can now render with the rasterizer.
In this post we'll focus on photoshop but the principle goes to any
image editor or compositor with a few tweaks.
Now lets get those artifacts done.
A. Render your image and open it in photoshop.
B. Adjust it as you normally would.
C. When the image is super nice flatten it so that all you have is the background layer.
D. Open the channels panel.
E. Move each channel a few pixels in a different direction.
If you keep an eye on the navigator panel you can monitor the
final effect as you work.
F. Go back to RGB and thats it.
The steps above is the easiest way and produces a good starting point.
To add a bit more authenticity to it one could distort the channels is
other more artistic ways. Jeremy Birn made a photshop action based
on the same idea that uses spherify , look at it here.
To take it a step further copy the flattened image from step C and
paste it as a layer under the distorted image, this way you can paint
out unwanted chromatic aberration.
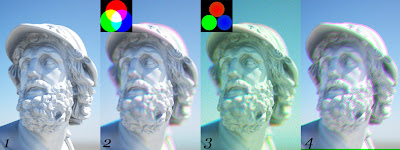
A comparison of the different approaches discussed (click to enlarge)

1. Original (no bokeh)
2. New bokeh map
3. Old bokeh map
4. Photoshop chromatic aberration
End of part II

